Showing posts with label LHN. Show all posts

Another has arrived.....

Photobucket


safe and sound - that little old pigeon has been flapping her wings overtime I think. Susan made a wish on the Grant a wish exchange and I said I would grant it for her. Susan let me know tonight that it had arrived today for her. As Susan's wish was for a tin topper and I knew how much she loved LHN designs I chose to stitch her Needle Necessities - only modified slightly to fit too which was good.

Photobucket


The inside I lined with a pretty fabric I had in my fabric drawer that I felt matched perfectly. The outside I trimmed with crochet lace and gingham ribbon in a toning colour. I've stitched it 1/1 and used the recommended DMC colours.
I am so pleased that Susan liked it.

I'm up late as I am having trouble sleeping so I have been busy stitching another exchange and have finished all the stitching, this one I want to do a different finish on - all will be revealed at a later date if it doesn't work than I will have to have a re-think. Tomorrow I'll start on another Grant a wish, I've picked my pattern out, now I just have to get started.


I hope everyone has a great weekend its been lovely and sunny here in Cumbria and more is forecast this weekend.


Mothers Day Gift

Last Sunday in the UK it was Mothers Day, and as always I'm late in giving my gift..... but I thought seeing as I was visiting mum and dad over this coming weekend I would take my gift with me when I went rather than post it.

Photobucket

As you can see I stitched mum a box top and accessories, the design on the lid is by LHN and is stitched on 28ct linen using DMC 815. Each accessory is also stitched with the same 28ct linen and the same DMC 815. The pinkeep is by miniatures d'alphabets and is called 'mon jardin'. The initial I found in my box of all sorts I think its french but haven't a clue by whom, both the pinkeep and the fob are stitched over one with one strand.

Photobucket

This is a view of the inside of the box which I padded and lined both the lid top and the base of the box. Also you can see the pinkeep and fob a little better. The tassel on the fob I made myself and added the beads. As I had the thread holder in my stash and I knew that mum liked them so I thought I would include it in the box for her.

So this is what I have been a busy with the past week or more, plus of course I have been doing some secret exchange things too which I can't show yet.


Mark has been busy decorating the bathroom over the last weekend and its looking good. No more nagging from me now for a while, I just need to find some flooring for there that I like now.
Last night we had a great fall of snow, now I know it won't be new and novel to most of you, but in the village its quite rare to get a good fall (well about a couple of inches) and especially to last all night and it did I was quite excited about it all Tash loves the snow and rolls about in it - crazy cat. Any how the snow has now gone, and hopefully we won't have anymore this week - yes I know I like it and get like a big child and excited but I have to travel over to mums on Friday with my gift.

LHN for Myrna


This is what I stitched for Myrna on the specific designer exchange, I chose to make a needlebook and use the 'apples' design, I was pleased with how it turned out as I wanted it to look countrified and rusticy - if you know what I mean. So I used gingham fabric and spotty fabric to line it which toned in well with the design colours and I also added the tiny wooden heart on the inner pocket and used a yellow gingham ribbon to close it with.


I have had some good news (for a change lately) and I was successful with my job interview and so I start my new role on January 7th so I was delighted as you can imagine, so as we were away over this weekend - we went to Durham to Marks sisters we all went out out for a lovely dinner last night. Whilst we were away I managed to get all my shopping finished except for one, and I also got my Christmas cards so tonight I will sit and start writing them.

I managed to sneak a lovely visit though only short to mums today and we exchanged presents so they are sitting now in the lounge in readiness for Christmas day I also saw Helen and the children which was great too.

I've to download some pics of my Christmas decorations later today or tomorrow so I'll post them up through the week, and hopefully I will have a couple more finishes and some pics of some the ornament previews you saw.

Embellished bag tutorial.


I have had some problems posting the pictures for this tutorial on the Focus on finishing blog (link in previous posting), so I decided I would also post the tutorial up on my own blog too with all the pictures.
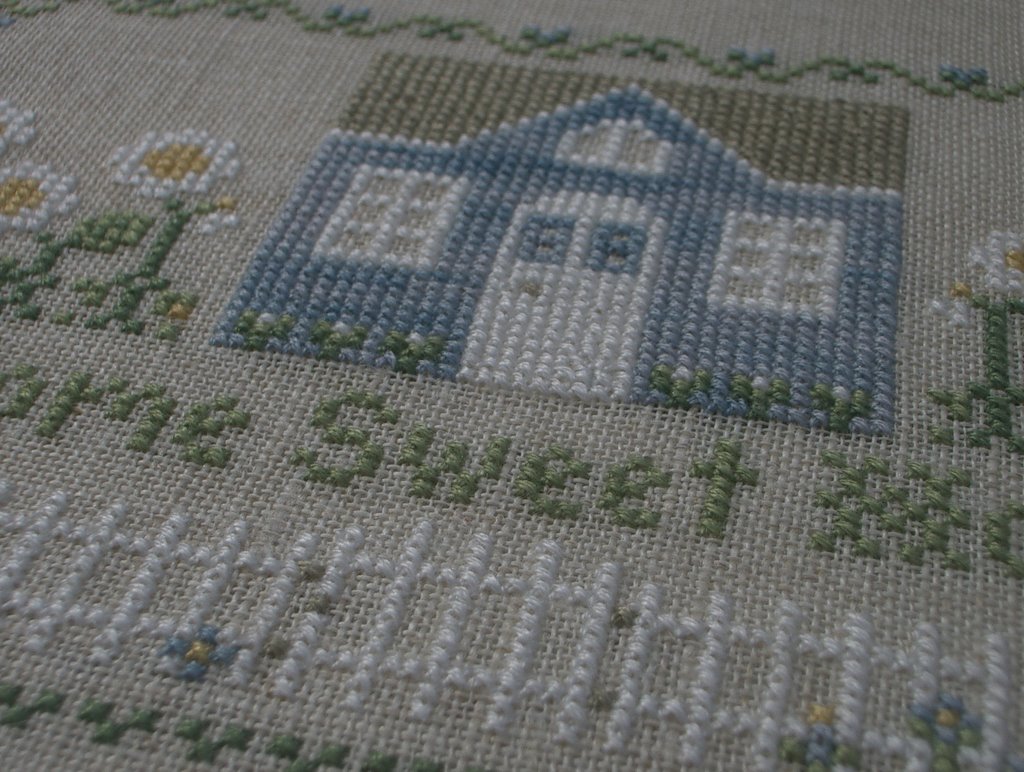
Materials:

stitched piece, leaving a generous margin around the design. My design was 9 cm x 16cm (3 1/2″ x 6″) and I added a 1-cm seam allowances for this project
fabric of the same size - I tend to cut mine slightly larger
ribbon for the hanger
Beaded trim
lace
sewing thread that matches.

Tools:

ruler or measurer’s tape
scissors
(optional) pinking shears
pins
seam ripper or small pointed scissors
chopstick or whatnot to turn your work inside out and make crisp corners
hand-sewing needle
Sewing machine (optional)

This is a very easy project, and while a sewing machine will make your work go quicker, you can do this by hand. Anyone can do this project


Step 1: Cut backing fabric slightly larger than stitched piece, For this particular design I have allowed 5cm from the edge of the design to the seam and 1cm for my seam. For the top allow the depth of your lace plus a further 5cm for turning over to make the top neat. - As you can see from my picture I didn’t remember to allow extra at the top and so had to make a cuff. Iron both pieces and turn fabric allowed for top over and iron flat.


Step 2: Either hand sew or machine stitch the 2 sides and the bottom together


Step 3: Trim the corner so that when you turn it to the right sides and gently push the corners out they won’t be bulky


Step 4: Turn the bag right sides out. Push the corners out gently.Iron your pouch - its not a bag til the handle is on!


Step 5: Measure the top of your bag (mine was 15cm) and cut your lace that size. Pin or tack your chosen lace to the top of the front of your back, then handsew into place only going through the lace and the front of the bag.


Step 6: Pin or tack your ribbon or cord for the handle (this should be cut to your chosen size), either to the inside of the bag where you can’t see the tails or to the outside of the bag where you will see the tails, then handstitch into place securely.


Step 7: Measure the size of the bottom of your bag and cut the beaded ribbon to size. Pin or tack into place on the back of your bag at the bottom so you can see the beads hanging down. Hand sew into place.


Step 8: I added some tiny glass beads to the ends of my lace for extra adornment. You could do the same.

This type of bag lends itself to all sorts of designs and sizes and trims. Let you imagination run riot instead of beads and lace you could add tassels and pom poms, ribbon and cording etc etc.

Remember too that this is my way of making these bags I’m sure there are other easier ways than this, but this is how I do them.

If you do make a bag please share it with us all so we can see, it would be especially nice if you could post your finished bag on the Focus on Finishing (link in previous post)blog.

Embellished Bag


This weekend on the Focus on Finishing Blog I'm doing a tutorial on how I finish my embellished bags, if you want to see the posting about how to do it, it will be up tomorrow with hopefully step by step pictures and text, I'm not always the best at explaining unless I have people in front of me, so hoepfully it will be clear enough.

This is a LHN design I stitched earlier this year and thought it would be perfect as an embellished bag so I finished this on Tuesday night. I think its very feminine with its beads, voile ribbon and lace.

Pinkeep for Yuko


I received a lovely email from Yuko today letting me know that her pinkeep had arrived and how happy she was to receive it - I was so relieved to hear that it had arrived safely and that she loved it.


I chose for her LHN - Ladybug, ladybug as I knew that she loves LHN designs very much, its stitched using the recommended threads on 40ct R&R light cappacino linen.


I double trimmed the edge with silk ribbon and a red flower braid I had and edged it with black and red headed glass pins. The top of the pinkeep has a handmade (not by me) pin in reds and yellows that matched the trimming and fabric I felt.

Now I'm looking forward to our next exchange Yuko!!

Up to much lately??

As the question asks up to much lately? Well I thought I would show you what else I've been doing during and after my holiday.


This wee ornament is a real favourite of mine its by Homespun Elegance and I so love this silhouette I've used it numerous times now, this is about the only finish finish I've done these past couple of weeks.

The next is what I actually stitched over in Lanzarote its instantly recognisable, its Rose Sampler by LHN stitched on 32ct using the recommended colours - this is the design I'm going to use for the embellished bag tutorial I'm going to do in October - unless of course something else comes along and I think will be better.


Next is a Cross eyed Cricket from the leafelet 'Love and Inspiration stitched on 32ct using the recommended DMC This I'm going to finish as an ornie.


Following on from that is another Homespun Elegance design stitched on 28ct natural linen with slight colour changes......


.... and finally a wee design by L'R de Rien called Coeour aux Oiseaux, stitched 1/1 on Polstitches Autumn leaves fabric using the recommended DMC colours - I have a couple more of this style to do and then I will show you what I'm going to do for finishing it all.


Thanks to everyone that visits my blog and emails and leaves me comments I really appreciate it all and get quite overwhelmed that folks like my stitching and blog.

News to tell too, My sister Helen and I have been really fortunate to get booked on the CA Wells course in November in London and we are so excited about it.

Well hope everyone has a great weekend!! I'm stitching my garden exchange piece.

A Wooden box


Remember my LHN finish - Daisy Lane cottage, well I have decided it would look perfect in a wooden box lid. I have padded and lined the lid of the box and the inside bottom with some pretty blue and white checked fabric, I didn't want anything too fussy, edged the lid with white silk cord and added a wee heavy dragonfly charm, I think its turned out great and I am really pleased with it.

I still haven't heard yet whether my Halloween exchange has got to my partner yet, I do worry about things getting lost. I'll be sending off my Autumn exchange and Stitching smalls exchange this week too so there will be more piccies to show soon.

Plus I have done some more Christmas ornaments and I have nearly finished the finish for Peaceful Ways which I stitched in the summer.

A new Finish


Gosh isn't life busy, I don't think I've paused for breathe much all week, apart from when I have been sitting stitching. My latest finish is by LHN - Daisy Lane Cottage. Stitched on 32ct almond linen, the only change I made was the house colour as I didn't have the CC one and so used GAST Cornflower.
Haven't decided as yet how I will finish this one, maybe a box lid, maybe a cushion.....
I have also started again on the Blackbird designs SAL, we are now on part 3, no pics to show yet.
I had hoped the redwork exchange piece I did would have arrived at my partners, but as yet it hasn't, bu as soon as it does I will show a pic.

This weekend I am off to Durham and leaving Mark house/cat sitting, I am going over to my SIL and we are off to get our hair done, so next week I might come back with a total new style and colour!!!!

Needlework Prayer


I've said my stitching prayer for the night, this one I finished the other week its by Little House Needleworks and I stitched it 1/2 and used Swampwater WDW for the words, I love it and have it in my drawer ready for framing.
Still busy stitching SB Angel Pie didn't do much last night and haven't really done a stitch tonight yet.

A bit disappointing news as MarieLouise has dropped out of our Neighbourhood RR, with all her problems she is having at the moment I wasn't surprised as its such a big commitment and the real world has to take priority. But it was still disappointing none the less, I have let the rest of the 'team' know and Barbara - bless her is trying to find an 8th person, hope that she can as it will be much better for laying out the material Oh that sounds so selfish and I don't mean it too.

LinkWithin

Blog Widget by LinkWithin